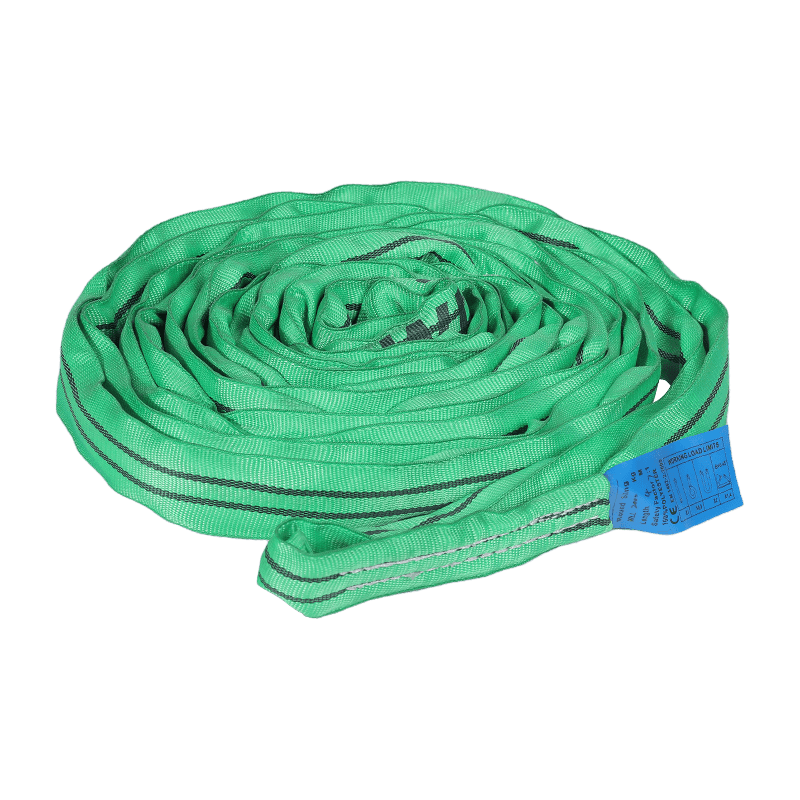
Step 1: Choose the Right Strap
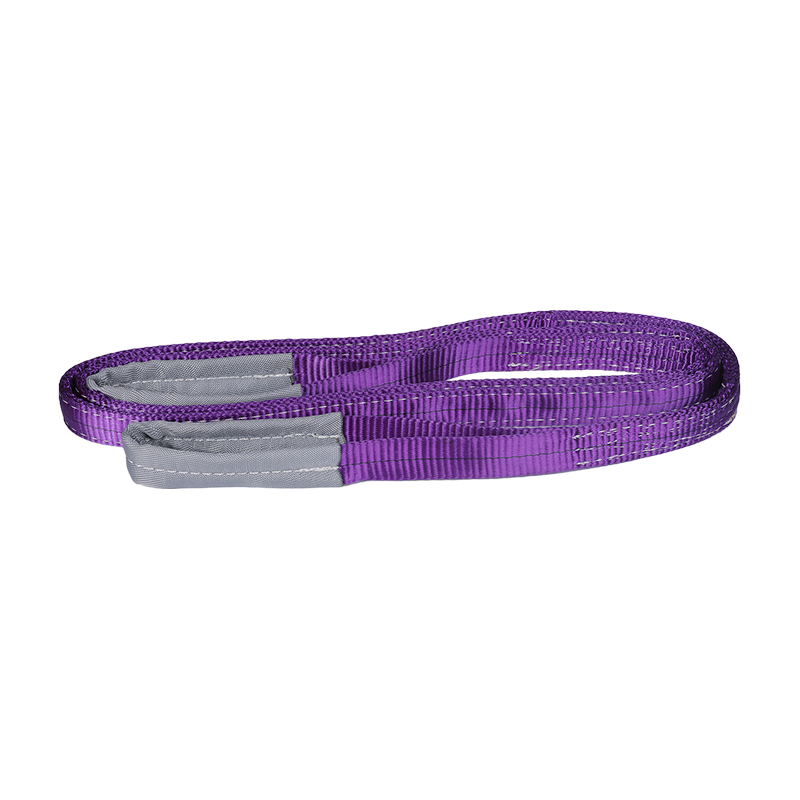
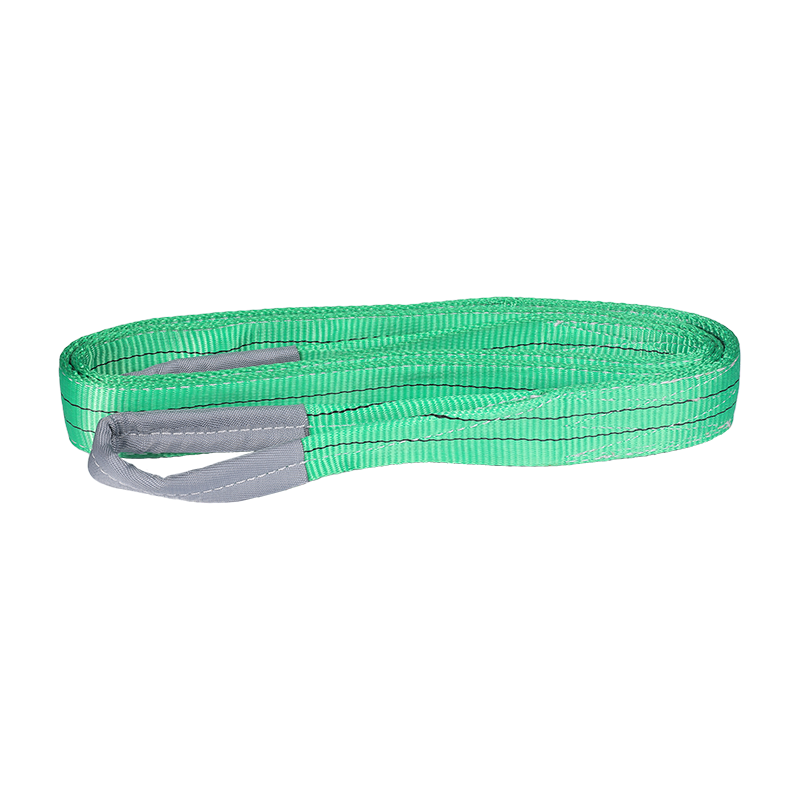
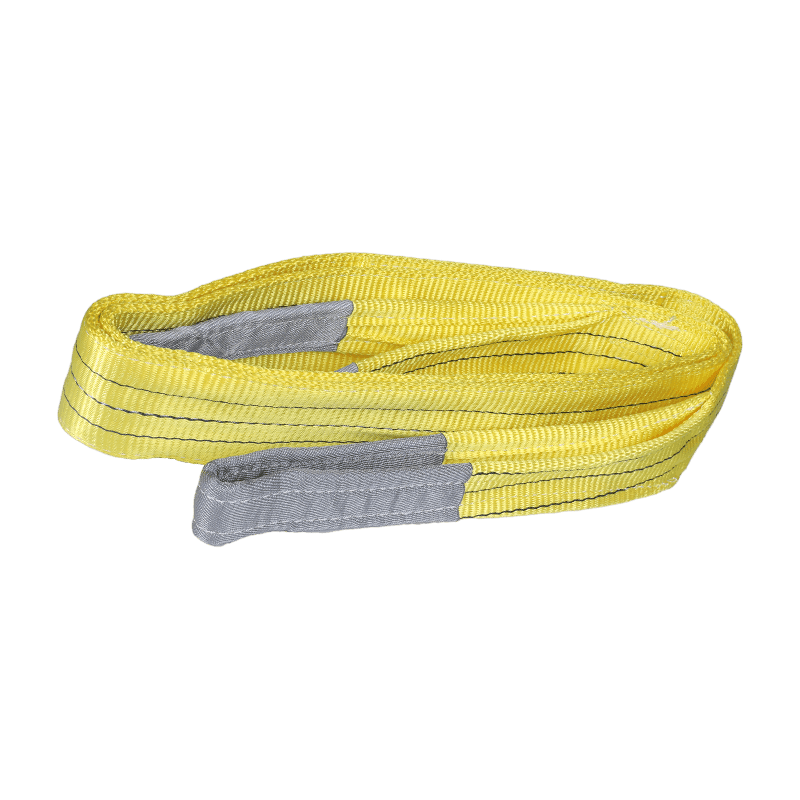
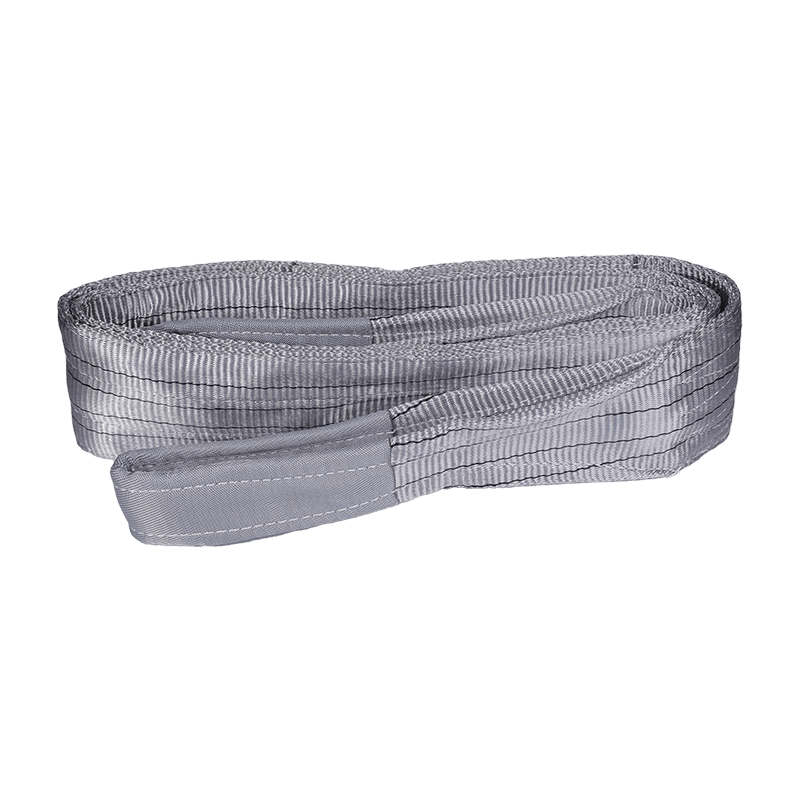
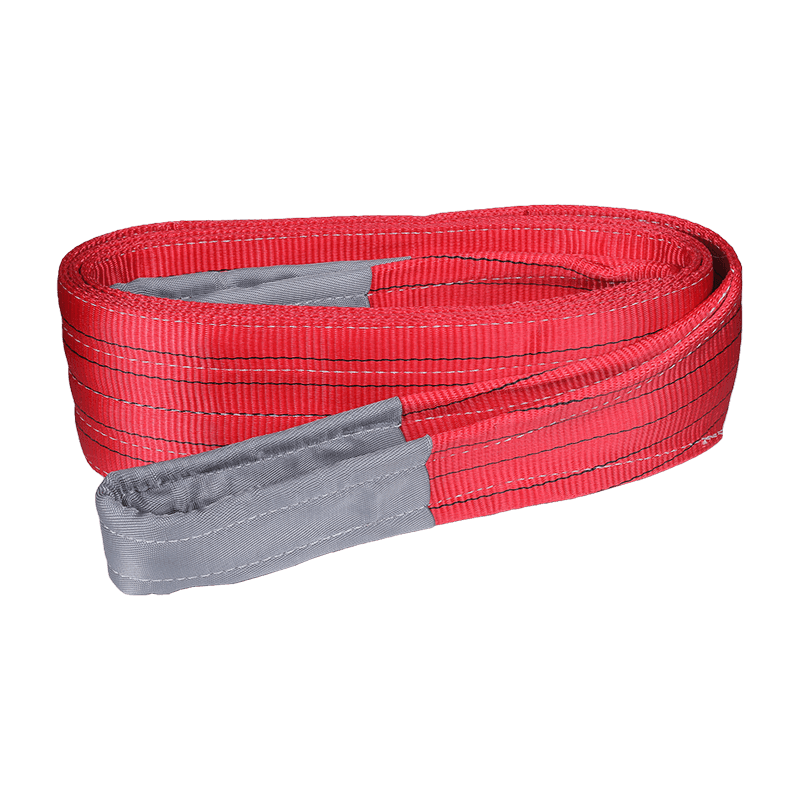
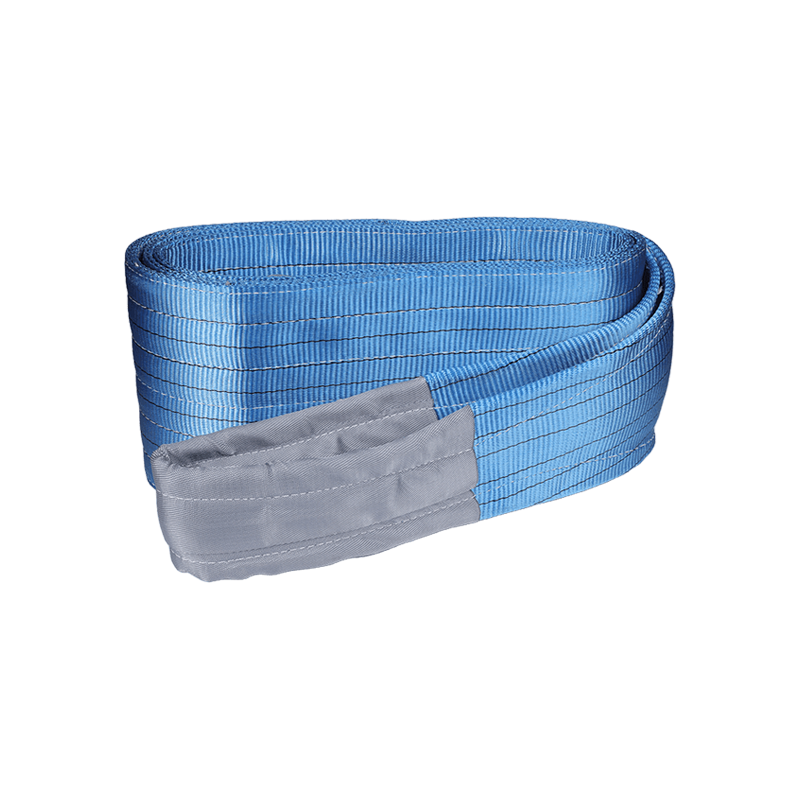
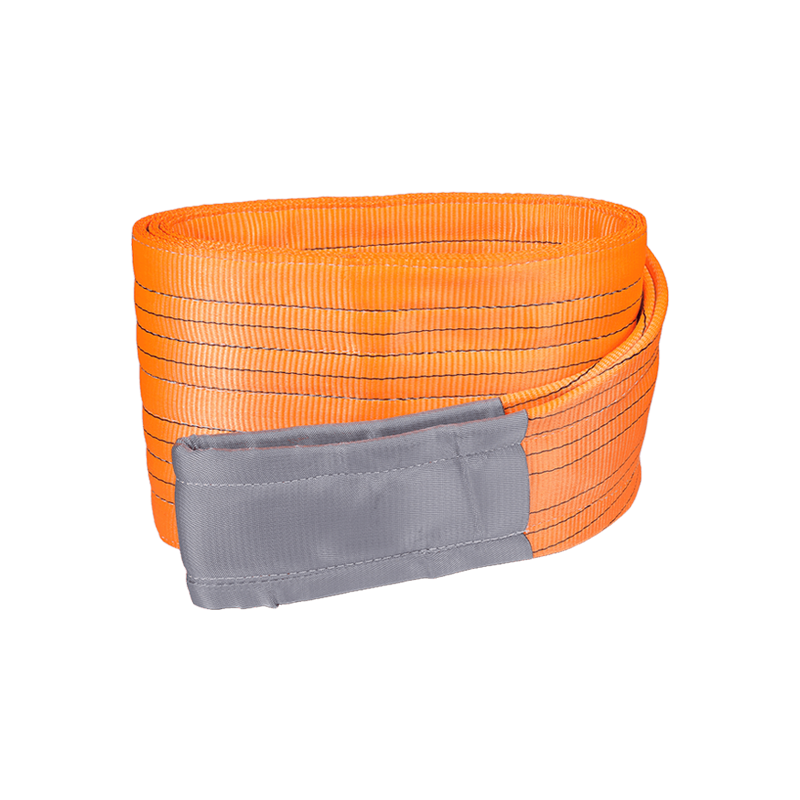
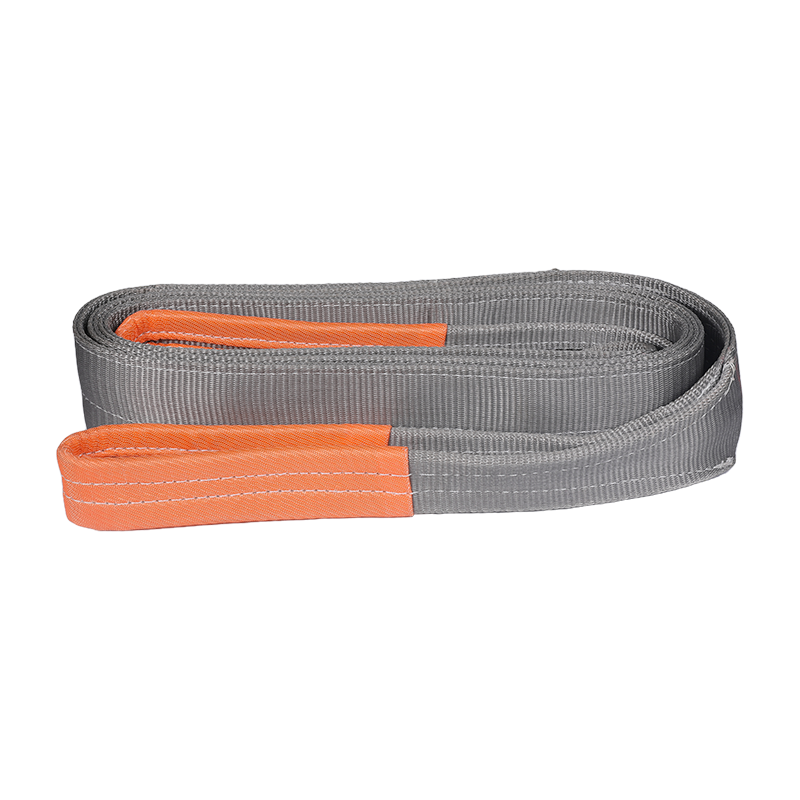
Before beginning any recovery operation, it is crucial to select a recovery strap that is appropriate for the weight and type of vehicles involved. Manufacturers provide weight capacity ratings for their recovery straps, so always check these guidelines to ensure the strap can handle the anticipated load.
Step 2: Inspect the Strap
Perform a thorough inspection of the recovery strap before use. Look for any signs of damage, such as cuts, fraying, or weakened stitching. Using a damaged strap can lead to failure under load, risking injury and further damage to vehicles.

Identify strong and secure attachment points on both the stuck or damaged vehicle and the assisting vehicle. These attachment points should be structurally sound and capable of withstanding the forces exerted during the recovery process.
Step 4: Connect the Strap
If the recovery strap has loop ends, thread one end through the attachment point on the stuck or damaged vehicle and then thread the other end through the attachment point on the assisting vehicle. For recovery straps with hooks, securely attach the hooks to the designated attachment points.
Step 5: Position the Vehicles
Position the assisting vehicle in a manner that allows for a straight and controlled pull. Ensure there are no obstacles or hazards in the path of the vehicles that could impede the recovery process or cause additional damage.
Step 6: Communicate and Prepare
Establish clear communication between the drivers of both vehicles involved in the recovery operation. Turn off the engines and engage the parking brakes on both vehicles. Inform bystanders to stay clear of the recovery area for safety.
Step 7: Apply Gradual Tension
Apply tension to the recovery strap gradually by moving the assisting vehicle forward or backward, depending on the direction of the pull. Avoid sudden jerks or sharp accelerations, as they can place excessive stress on the strap and attachment points.
Step 8: Monitor Progress
Monitor the progress of the recovery operation closely. If the vehicles are not moving or if there are any signs of strain or stress on the recovery strap or attachment points, stop the operation immediately and reassess the situation to prevent accidents or further damage.
Step 9: Release Tension Safely
Once the stuck or damaged vehicle is freed, release tension from the recovery strap slowly and carefully. Avoid allowing the strap to snap back or recoil uncontrollably, as this can pose a safety risk to individuals nearby.
Step 10: Store the Strap Properly
After completing the recovery operation, clean the recovery strap if necessary and store it in a cool, dry place away from direct sunlight. Avoid storing the strap in a way that could cause kinks or damage, ensuring it remains in optimal condition for future use.


 English
 Español
 Deutsch